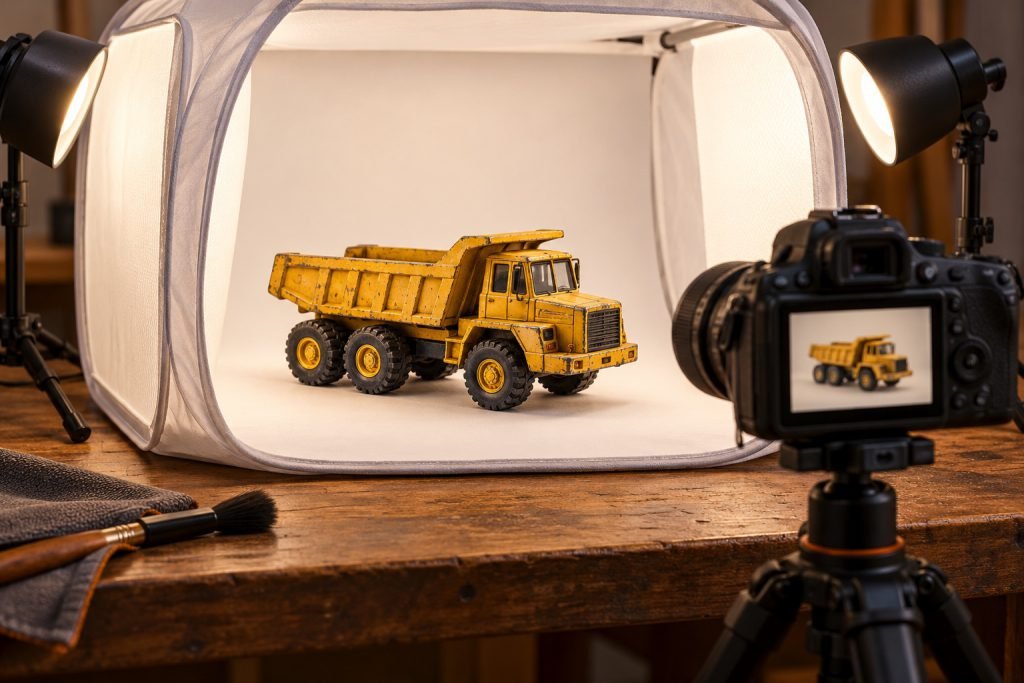
Make a repeatable set of views rather than a single attractive photograph. The goal is to show identity, completeness and visible condition well enough that you can compare the model later.
Build a simple recording setup
Use a clean, stable surface and a plain background that contrasts with fine details. Diffuse light from more than one direction reduces harsh shadows. Keep the camera steady and inspect the result at full size; an image that looks sharp as a thumbnail may hide a small rail or pin.
Take a complete sequence
Photograph both sides, front, rear and a three-quarter view. Add the product label and loose accessories as separate images. Photograph the underside only when the model can be supported without pressure on fragile parts; do not balance it on mirrors, rails or a raised boom. Include a ruler beside the model only when dimensions are the subject, and identify the measured axis.
Record defects without disguising them
Take one wider image locating the issue and one close-up showing it. Keep the same exposure and white balance when comparing adjacent paint panels. Do not use filters, generative cleanup or retouching on an evidence image. A separate attractive display photograph is fine, but label it separately from the condition record.
Keep originals and a readable filename
Use a filename containing the maker code, date and view, such as “85528-2026-10-left”. Preserve the original files alongside any smaller copies. Add a short note for each repair, missing part or uncertainty. The photographs support a visible-condition record; they do not establish hidden material strength or long-term reliability.